

On This Page Show
Minecraft is undoubtedly one of the biggest games at the moment and is consistently spread out on almost every single platform that you can think of. One thing that you may see often is that there are two versions of Minecraft that are a bit different from each other, and how you do certain things in them is handled differently in a few ways.
One of the most important things in a customizable game like Minecraft is how your character looks, and it can take some time to figure out how to change your skin in the Java version of the game. Luckily for you, we’ve created a guide on how you can change the skin of your character in the game immediately – so, let’s get started.
What is Minecraft Java?
Before we get into how we can change the skin of your character in Minecraft Java, here’s what it is in the first place for those who might be unaware.
Minecraft Java is the original version of the game that started out on PC, and the only one available on Linux and Mac. Whereas the other version, called Bedrock Edition, is meant for other platforms and is required on PC if you wish to have cross-play with them. So, ideally, Minecraft Java is updated more consistently and it also has far better support for mods in comparison.
So, now that we have the introduction out of the way, let’s talk about what we’re really here for.
How to change your character skin in Minecraft Java
There’s a couple of easy steps that you can use to modify the default character skin in Minecraft Java and change it to whatever you feel like.
Step 1 – Find a Skin
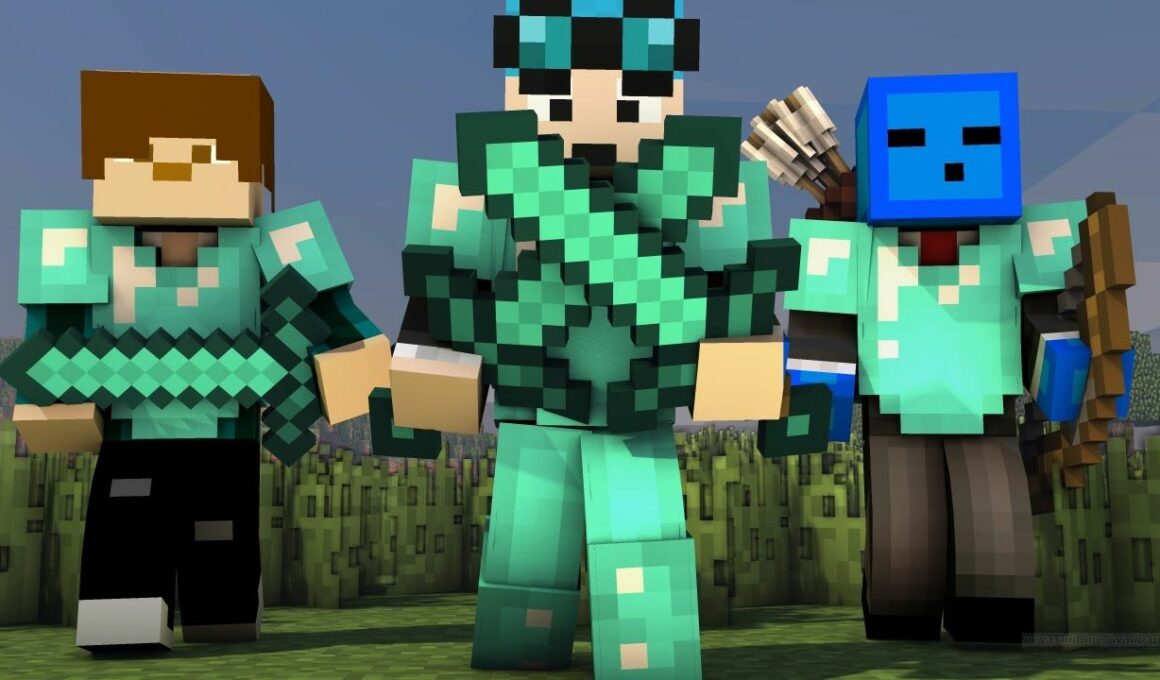
It’s pretty obvious that to replace a skin, you need to find another one to replace it with first. So, all you have to do is to google ‘Minecraft skin’ and you will find dozens of unique links that will lead you to websites that have tons of free skins to use as a replacement for the default Steve avatar.
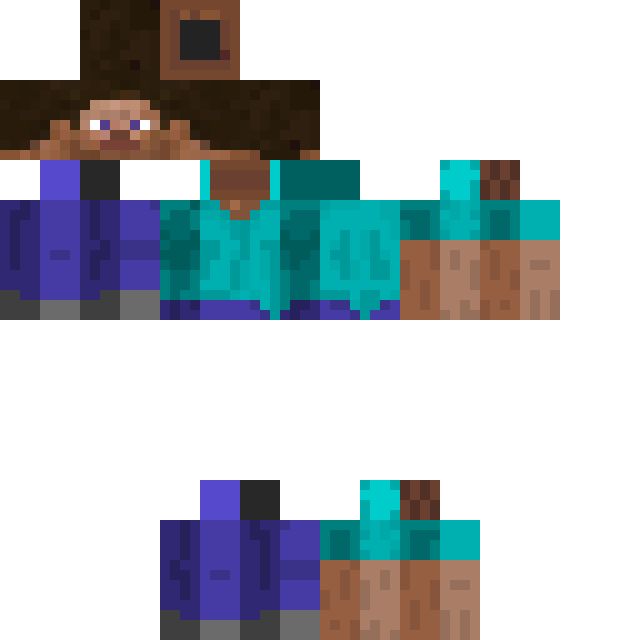
Once you find one you like, just save the image right away – which will look something similar to what we attached above this paragraph.
Don’t be alarmed by how scattered it looks, though. Once it’s added in the game, it will look completely normal on your character. One important thing you need to keep in mind, though, is that you should check whether the skin you download is meant for the ‘Classic’ or ‘Slim’ model – and that is decided based on what you need.
Step 2 – Import the Skin
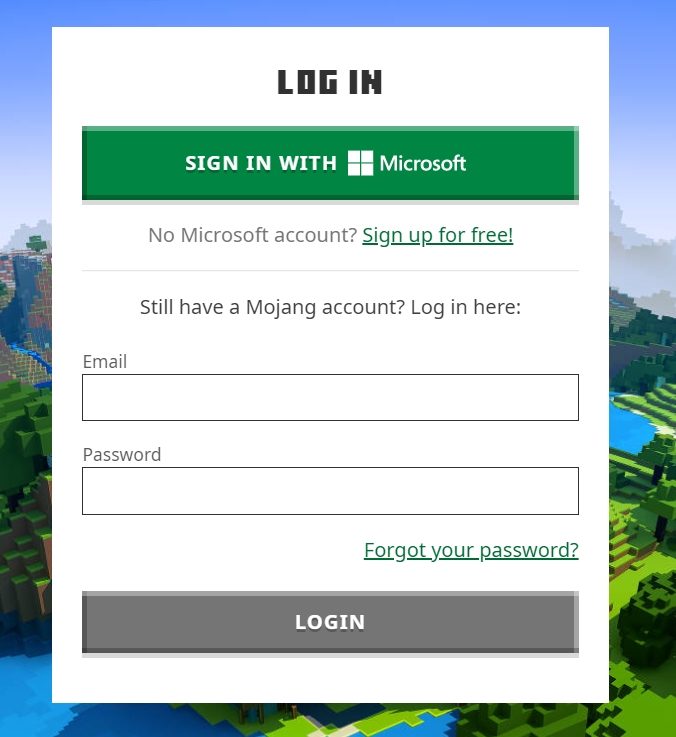
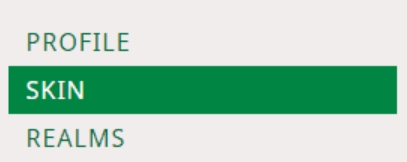
Next up you have to visit Minecraft.net and login to your account which has the skin that you want to change. On the top-right corner of the screen once you’re logged in, you can click the ‘Profile’ section on the drop-down menu and click on the ‘Skin’ tab that pops up.
Up next you’ll be asked whether you wish to change the skin of the ‘classic’ model or the ‘slim’ model, which are referred to as Steve and Alex respectively. The difference between them is obvious as the latter is called Slim – and that’s exactly what changes here, as Slim simply doesn’t look as thick in the arms and whatnot. As mentioned previously, you need to make sure that the skin you downloaded is appropriate for the model that you need to change the character of.
So, if you have a classic skin – select that. If you play as a slim skin, then select that instead.
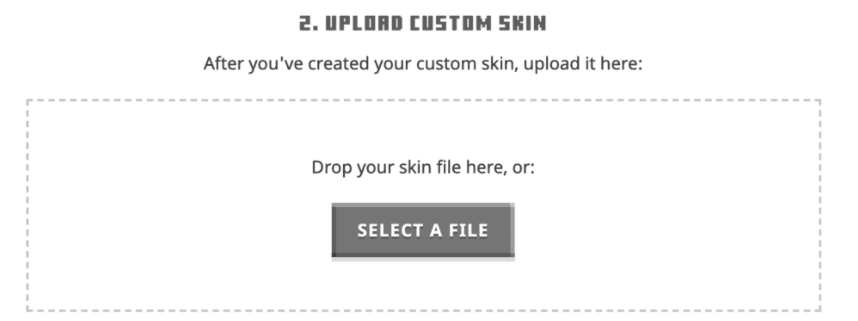
Now, the game will ask you to upload a custom skin no matter which of the two options you chose. Simply click upload and select the skin image that you wish to use – then it will upload the image on your character by itself.
Step 3 – Enjoy your new character skin!
That’s all that you needed to do! Your skin should be automatically applied now and will be there when you open the game again. If there’s an issue with how it looks, try to make sure you used the right skin for the right ‘slim’ or ‘classic’ model. Not only that, some images might have an issue in general, and trying out a different skin might fix the issue.
Lastly, an important thing to know is that, as you may have guessed, you can create your own skins too which can then be imported in the game – so let your imagination go wild!
That’s it for this guide, we hope that you found it helpful and are already using new unique characters in the game. And while you’re here, don’t forget to check out some of our other helpful gaming guides too!