


On This Page Show
Remnant from the ashes is a relatively new shooting game that has managed to amass a large player base in a few years. The game is set in a post-apocalyptic world where deadly enemies roam the streets, and you and two other survivors beat these monsters to a pulp.
But beating these monsters gets harder and harder as you progress in the game, and you’ll constantly need to keep upgrading your weapon arsenal as the boss battles aren’t easy at all.
Most of the time in the game, you’ll have to kill a boss or do some quest to get a new weapon.
But you can also get decent weaponry which can be really useful just lying around on the map if you’re lucky. But we don’t want you to be lucky; in this guide, we’ll show you how to obtain one such weapon without completing any quest or task.
The assault rifle is a deadly weapon to have on you as it may come in handy sooner or later. And why pass up on free stuff?
How to get the assault riffles In Remnant: From the ashes
Step #1
This guide assumes you’ve saved the root mother; if you haven’t reached this part of the story, go and finish it first and then come back to the guide. Without completing the story till this point, you won’t have access to go to this area.
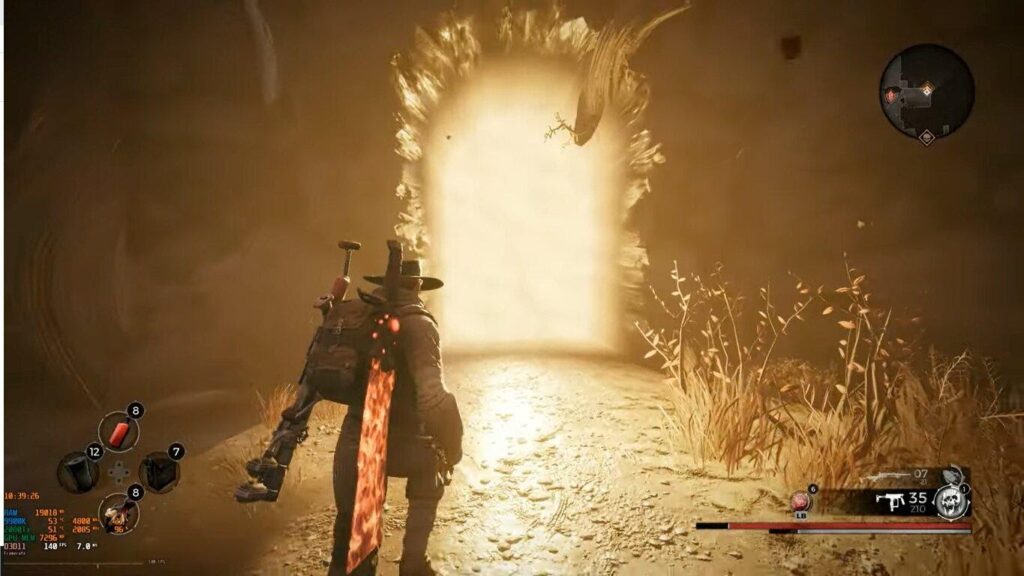
Once you’ve reached this point in the story, you’ll have to walk through the golden portal through the broken wall of the church building to go to the assault riffle’s location.

Step #2
Once you’ve entered the golden portal, you’ll be placed in a different area. This next step may be tedious as Remnant has seed-generated maps; some showing you an image won’t be of any use as the dungeon we’re looking for might have a totally different location in your map.
Anyways, you can spot the dungeon by looking for a ramp down to a broken wall at the start.
The area will have a lot of water everywhere, and strange plants can also be seen growing in this area.
Step #3
You’ll encounter many enemies in here, and more and more persistent ones will keep spawning; carefully make your way through the dungeon; there will be two paths to get out.
Don’t worry about the paths; they both lead to the exact location in the game.
Step #4
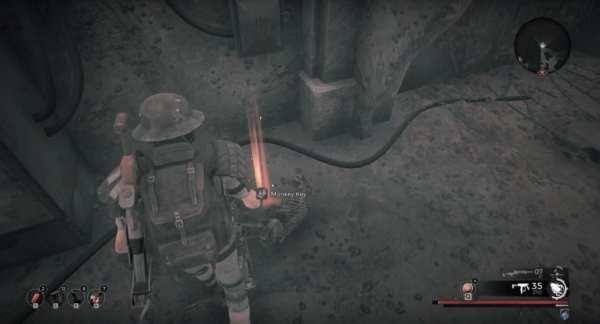
On the map, you’ll see red rectangle marks, which show the location of the Monkey Key, a time that we’ll be needing to acquire the assault rifle. You can access this location by using the map to traverse; the white marker indicates the players, so it should be easy.
Step #5
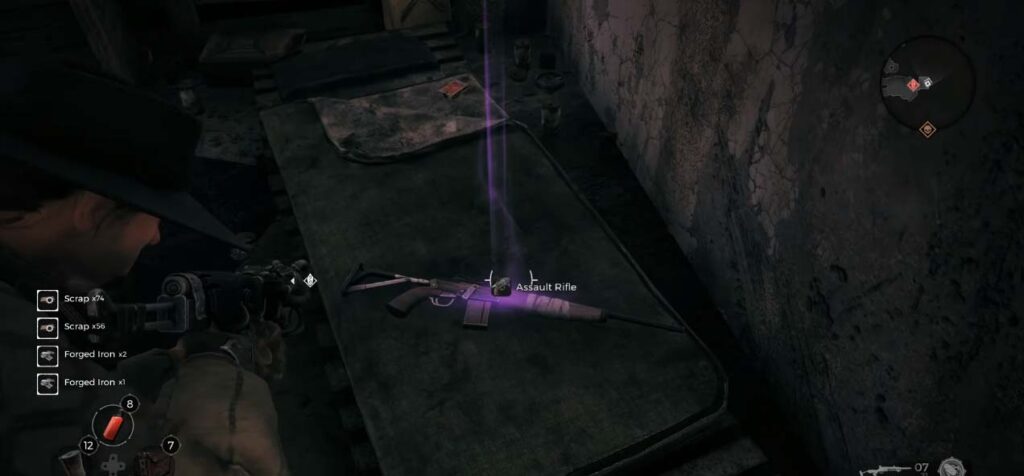
Once you acquire the Monkey Key, you’ll have to go down to the room behind the checkpoint on the right side of the Map. You’ll encounter a door, the key to which is in your hands, fit in the Monkey Key and enter the room.
Collect everything, including the coveted assault rifle you came here for!
And that’s it, the assault rifle is a deadly weapon, and you don’t even need to complete any tasks or kill a boss to acquire it. And if you’ve followed the guide correctly, you should’ve had no problems at all when traversing the map in order to find the location of the gun.
Make sure you also pick up a lot of iron if you want to upgrade the assault rifle to +5. When you get the gun, the checkpoint can access another area or go back to the 13th Ward.
Continue reading: